
Walopus Fool-Proof Drum Wrap Instructions
Your new Drum Wrap will arrive tightly rolled for shipping purposes. Even if you don’t intend to wrap your drums right away, the wrap needs to be unpacked and allowed to “unwind” as soon as you receive it. Simply remove the packaging material and let the wrap unwind itself to it’s own comfortable state.
These instructions cover two methods of wrapping; Seam-Bonded (Recommended for novice wrappers and the less handy.) and Fully Adhered. Both methods will yield excellent results even if you’ve never wrapped drums before. Walopus’ method for fully adhered wrap is almost as fool-proof as the seam-bonded method. Walopus’ Seam-Bonded method allows for future removal of wrap as if it was never there.
Seam-Bonded Drum Wrap Instructions
Step 1 – Prepare the Wrap

Because drum shell depths vary, Walopus Drum Wrap is made slightly over-sized. A 14″ X 14″ floor tom can vary in depth from 13-3/4″ to slightly deeper than 14″. For this reason the wrap must first be trimmed to the correct width.
Measure the actual total depth of the shell and deduct 1/2″ This will yield a piece of wrap that reaches 1/4″ shy of the shell edge which is recommended. Make marks at each end of the wrap corresponding to your measurement less 1/2″. Connect the marks with a straight line using a straight-edge or other long, straight object.
Cut along the line with regular household scissors.
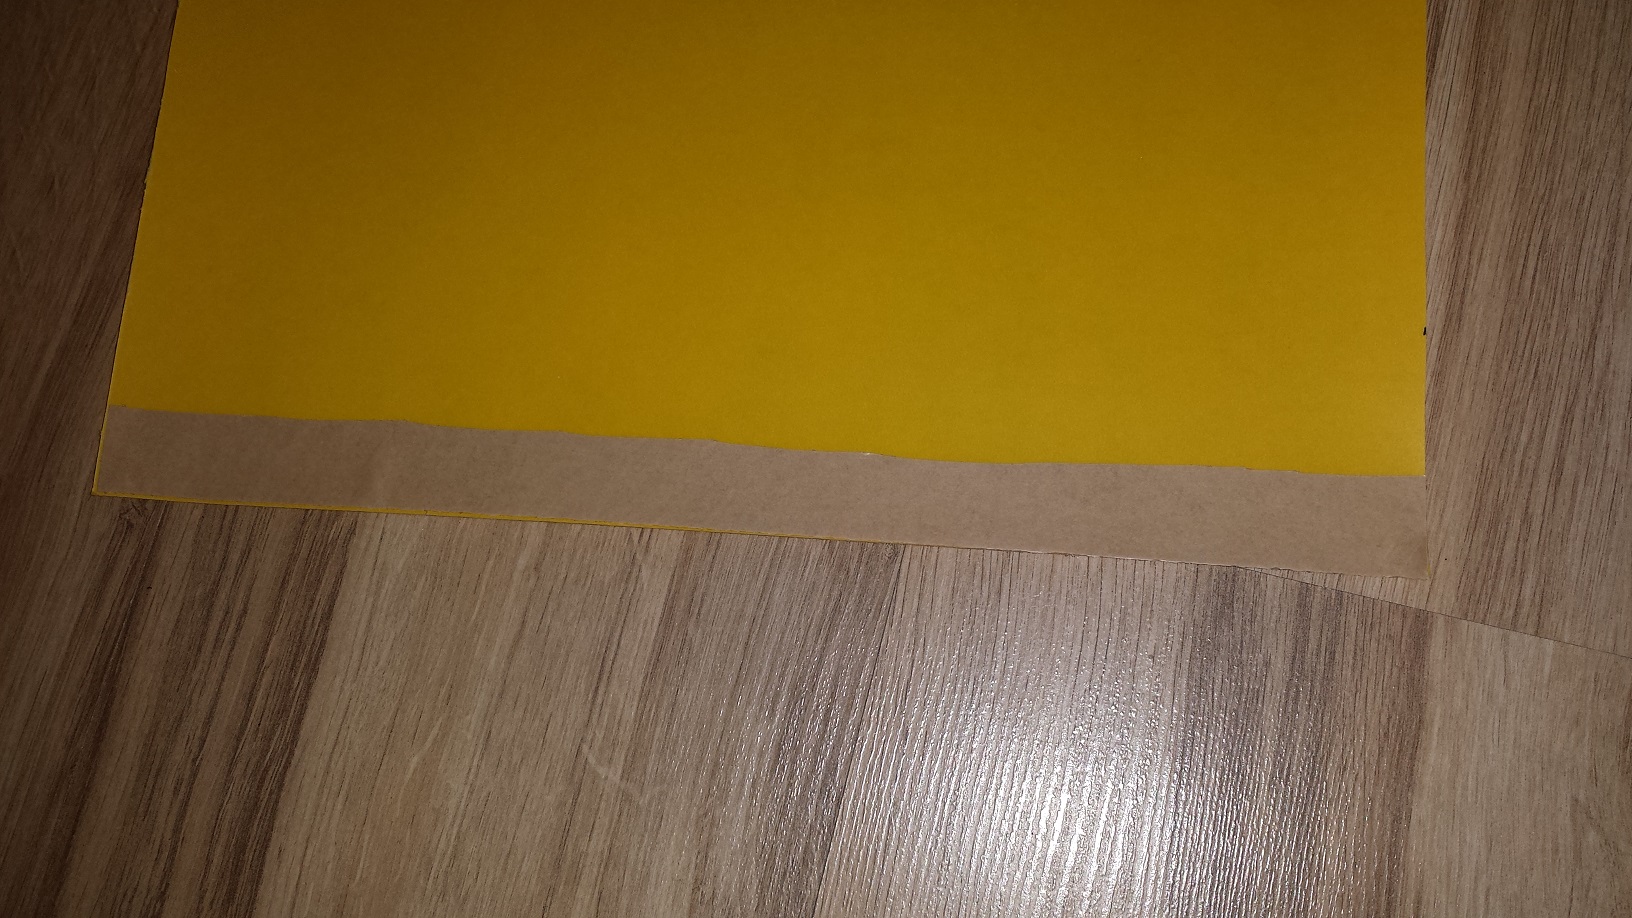
Apply a strip of strong double-sided tape to one end. This example uses D/S tape intended for carpet installation. This tape can be found in the flooring section of any Home-Improvement centre or Flooring Store. Any strong D/S tape will work, but avoid the flimsier types intended for scrap-booking and photo albums.
In this example we have cut the tape down to half the width. This is not necessary but because we wrap a lot of drums, it’s worth it to make a roll go twice the distance.
Step 2 – Wrap the Shell

Determine the position of the seam. Usually the seam will face the drummer rather than the audience. Place the same directly over a row of lug-holes. This way the lugs secure the wrap and help hide the seam.
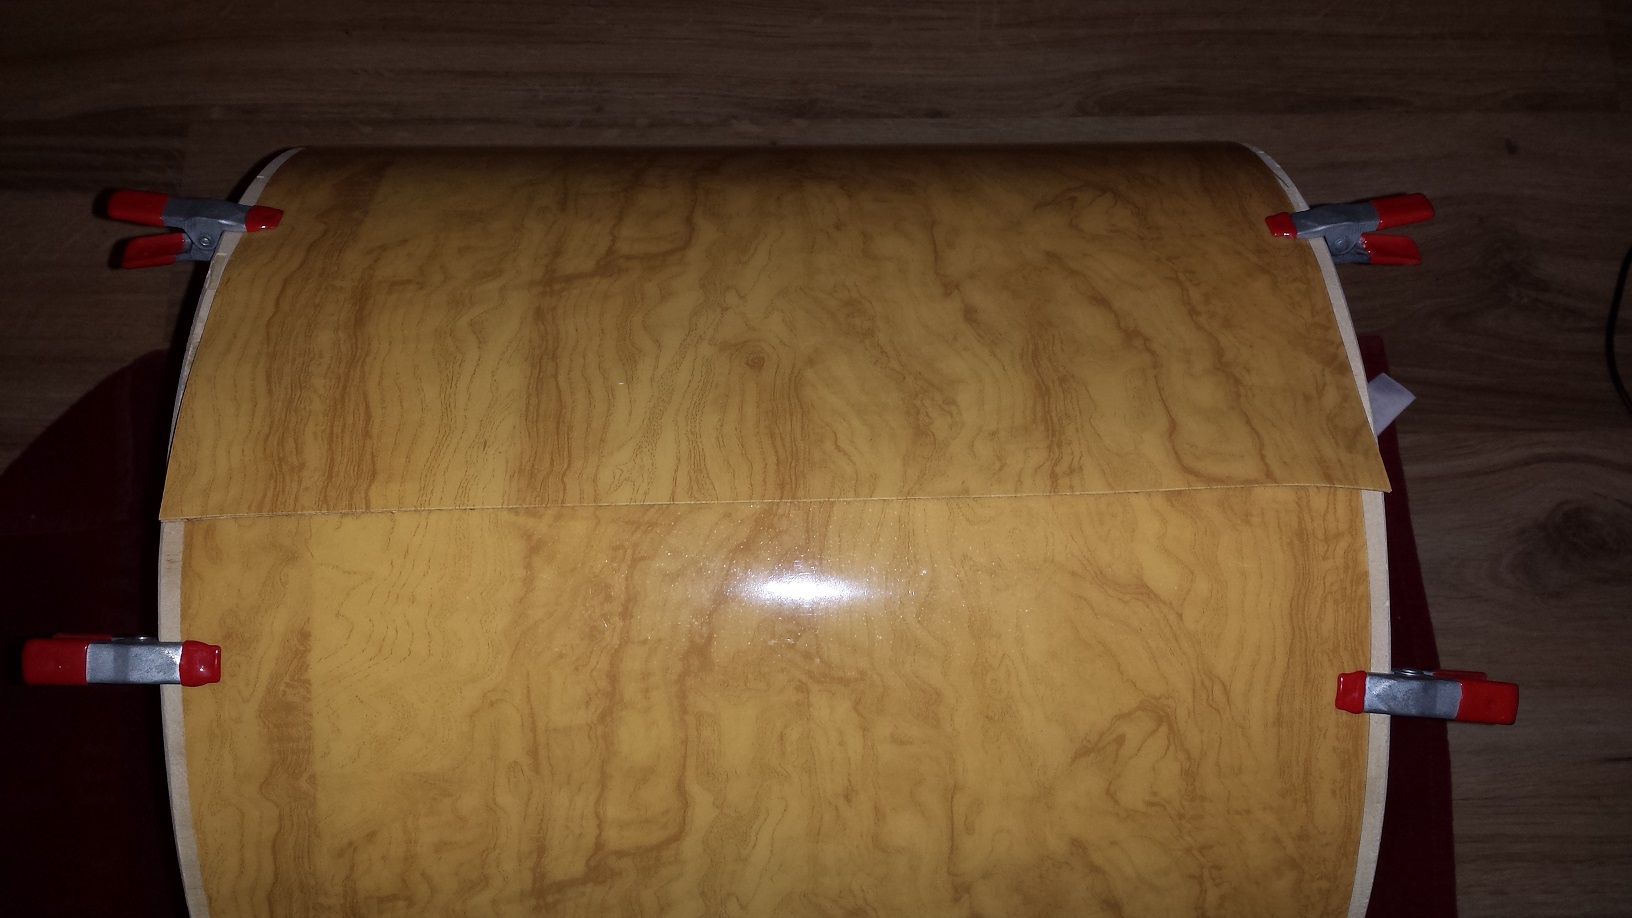
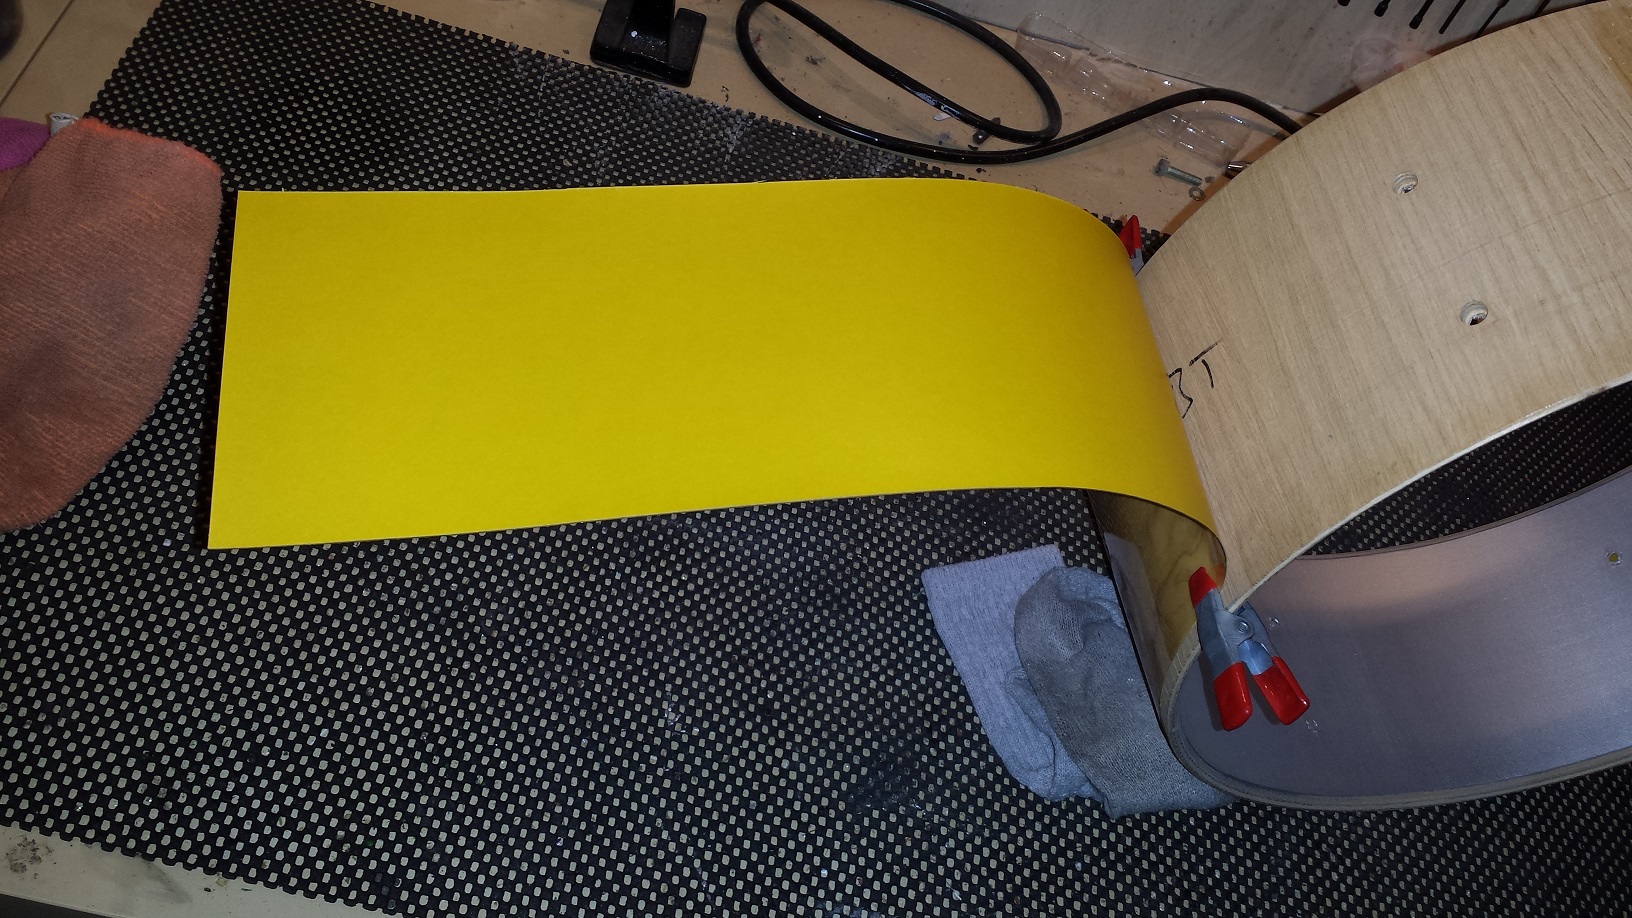
Place the end of the wrap without D/S tape over the lug-hole line and line it up somewhat straight with the shell’s edge. secure with two spring clamps, a couple of inches from the end, as pictured. Roll the wrap around the shell and make a mental note of the alignment. Unroll and adjust alignment as necessary. Repeat until wrap is perfectly aligned and meets up with itself in a straight line. Take your time with this step.
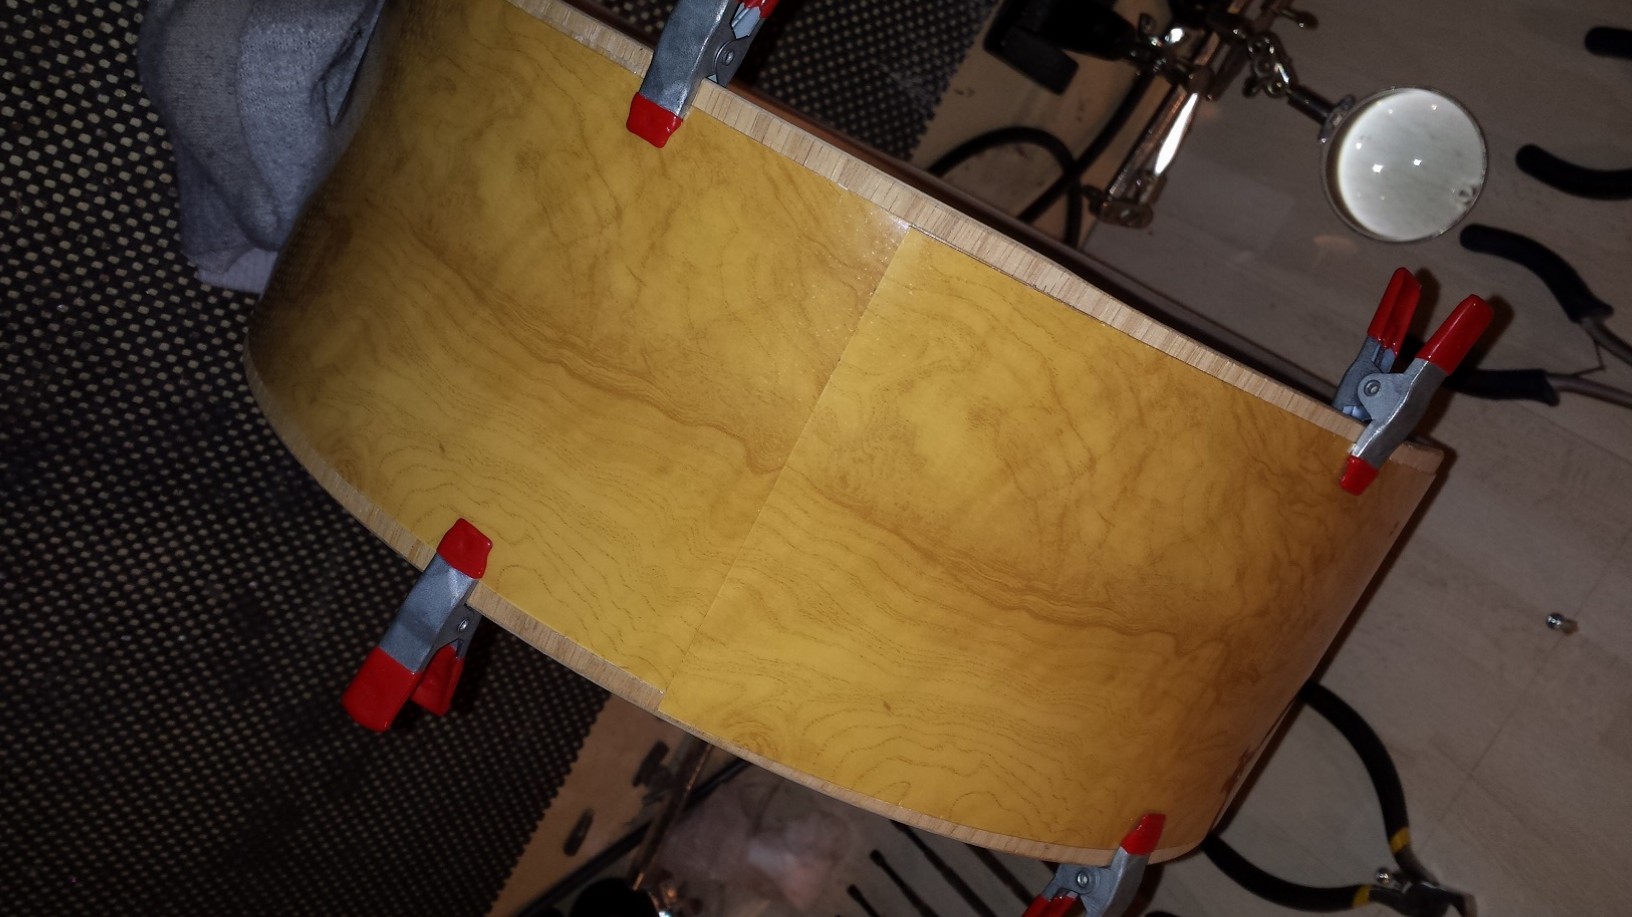
Once the end is aligned straight, wrap the drum wrap tightly around the shell and secure the other end with clamps, also a couple of inches from the end. Go back to the first end and work your way around the shell again, pressing the wrap down firmly against the shell while moving your hand along the entire surface. If there was any slack this step will cause a slight bulge to form near the second pair of clamps. Momentarily release the clamps to tighten the wrap down and remove the bulge. Repeat until no bulge appears at the end.
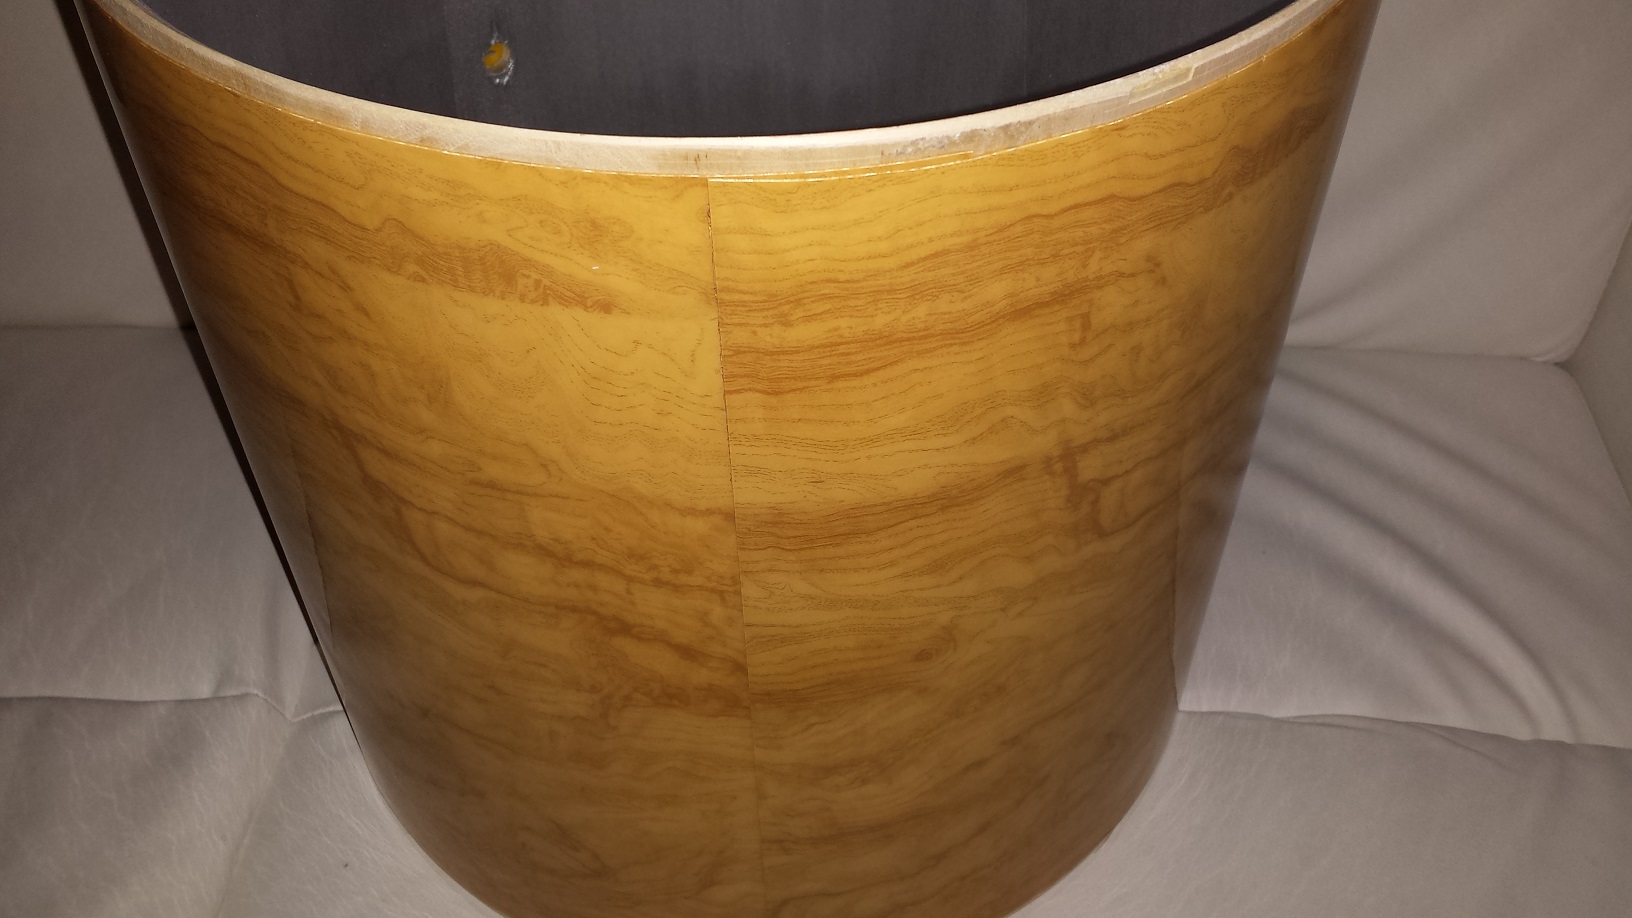
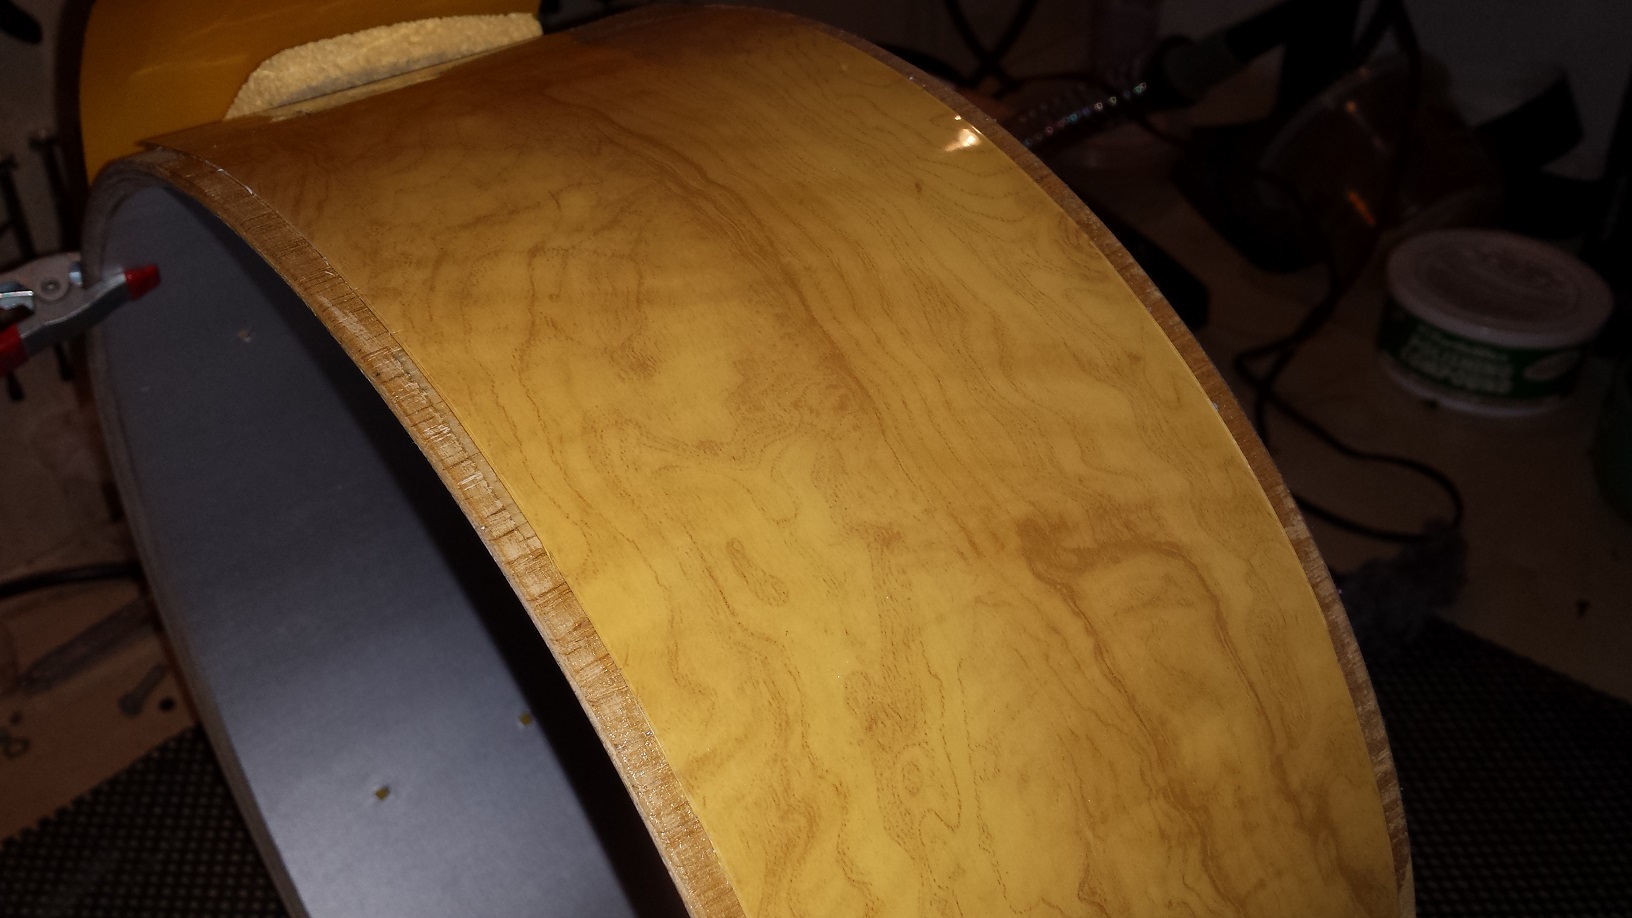
Remove the liner strip from the Double-Sided tape and press down from the middle and out toward the edges.
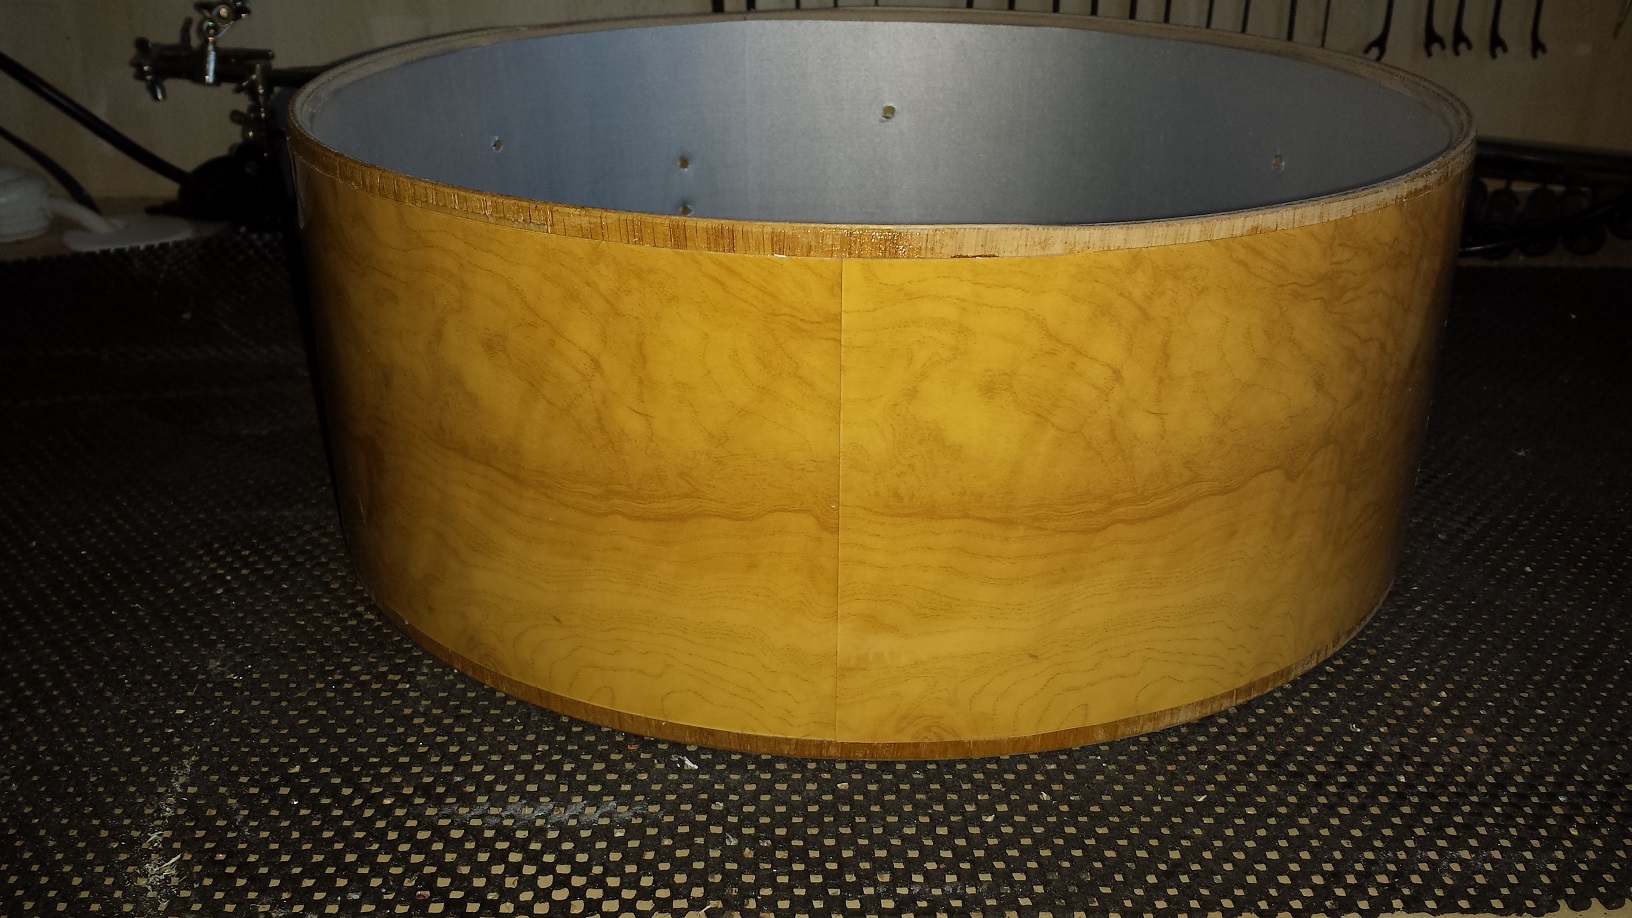
That’s all there is to it. The drum shell is wrapped.
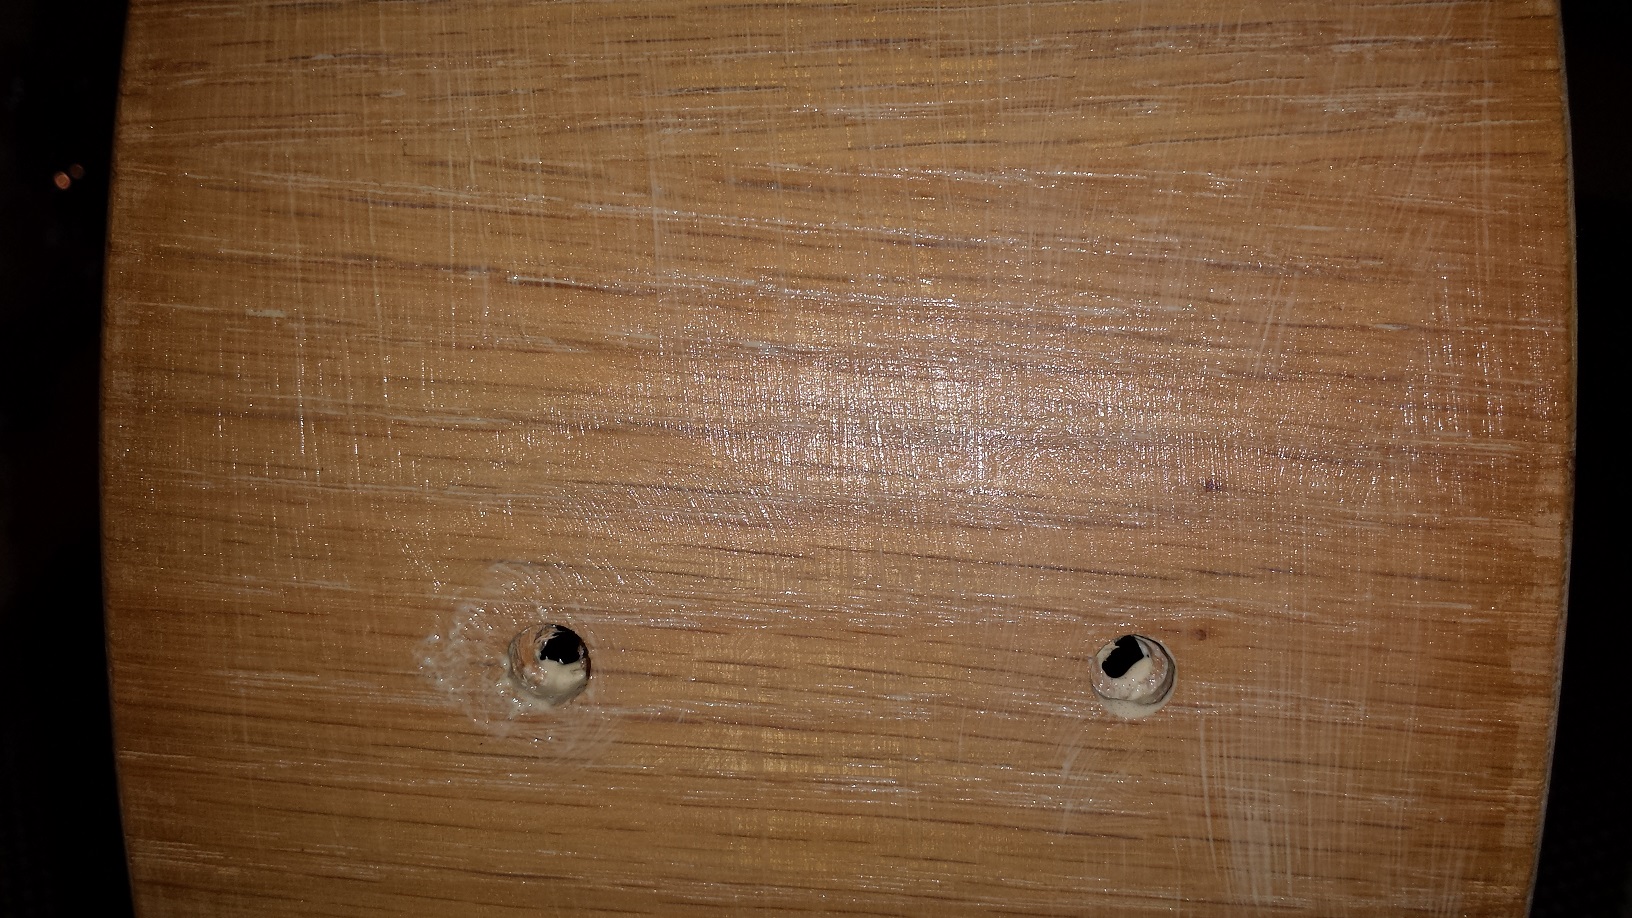
The holes can be made either with a sharp utility knife, (Be careful, you don’t want to cut into your new wrap or your fingers.) or with a drill. We prefer using a drill from the inside for the cleanest results. Make sure to make the holes in the wrap as large as the holes in the shell so the lugs and/or hardware isn’t pushing against the wrap.
This particular wrap is called “Walopus Figured Maple Drum Wrap”.
When re-installing the lugs, take care not to over-tighten the screws. Screw-posts in lugs are prone to cracking and the threads strip easily. We have also encountered stripped lug scres and even the odd snapped one. The screws should be tightened a bit past “snug”. Right around “firm”, but not “tight”.
This method is also illustrated in the video below.
Fully Glued Drum Wrap Instructions
Prepare the wrap in the same manner as above. You can choose whether you want to use double-sided tape for the seam or glue the seam as well. Once trimmed to size, give the backside a quick scuffing with sand paper. If you will be glueing the seam, also scuff the front side of the bottom end at the seam.
Follow the steps for the seam bonded method above, until the wrap is straight and tight around the shell.
Undo the first pair of clamps and move them approximately 1/4 of the circumference away from the other clamps. Allow the now unsecured piece of wrap to unroll from the shell. Place a sponge or rag between the shell and the opposite end of the wrap.
Walopus Drum Wrap has proven to be resistant to every solvent based contact cement we’ve tested. We do however recommend testing your adhesive on a small inconspicuous area prior to proceeding. Water based contact cement or flooring adhesive has also shown good results. In this example we are using regular solvent based contact cement.
With a brush apply a coat thick enough to evenly cover the surface but still thin enough to go on evenly. Cover the exposed portion of the shell and corresponding area of the wrap. Allow to dry as per the manufacturer’s recommendations.
Carefully roll the wrap back in place pressing firmly as you go. Once back in place, rub the wrap down across the entire surface. Leave to fully cure for the time specified by the glue manufacturer.
With the first 1/4 glued in place the clamps are no longer needed. Gently fold back the remaining flap of wrap and brush on the contact cement on both surfaces in the same manner as before. Leave to dry as per manufacturer’s recommendation. Apply the wrap to the shell in the same way we did the first 1/4. Rub the entire surface firmly against the shell.
That’s all there is to it. This is a slightly more time consuming method but vastly safer than applying the entire wrap in one fell swoop.

Notes
Regardless of installation method, familiarize yourself with the entire process before proceeding with installation.
Practice wrapping without adhesive a few times before proceeding with installation.